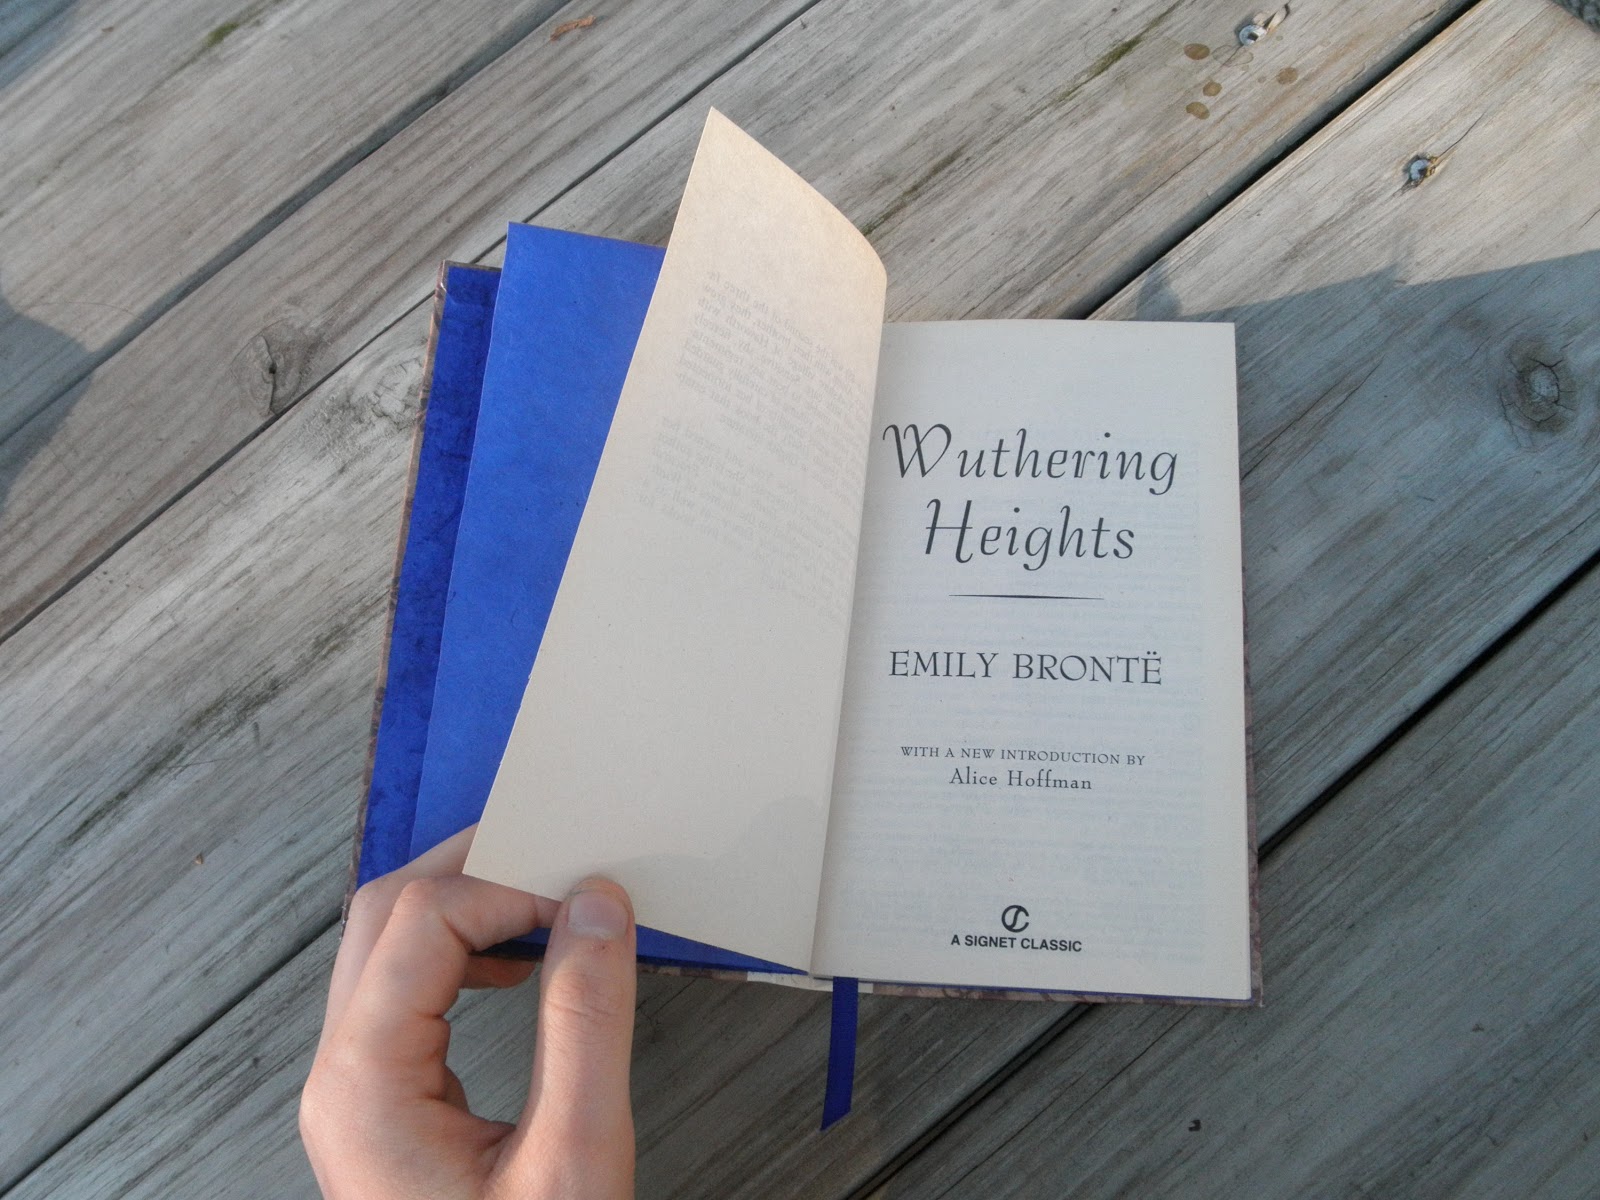
Hey all, I'm back. It's been a slow couple of weeks since my last post due to visiting relatives, a new workout schedule, and this thing where I need to get a real job.
I thought I'd write a post about how I did the leather stamping on my Tome project, since I think this info could be useful for many others starting out with leather work.
Traditionally, stamping is done with a wide array of specially designed, well, stamps: long metal rods with an inverted design cast on the end. These range from simple alphabet stamps, to small images and maker's marks, to elaborate filigrees such as those proudly displayed on the site of this professional binder. There are also tools made in basic shapes like circles, arcs, lines, and polygons for putting together a custom pattern; you can see some in use in this great belt-making video. You get the idea that, to be able to tool leather the way you want, you're going to need to invest in a lot of specifically designed tools.
Unless you're very clever and patient.
Step 1: Stamp pattern
First we need to create a pattern which will be pounded into the leather to leave an imprint. All you need for this is a cutout with well-defined edges in a material sturdy enough to withstand a bit of compressive force. It also needs to be thick enough to sink into the leather. A couple millimeters of thickness is enough, though more is better.
Such a material is not hard to find; shockingly, even paper products will do. My olive branch stamp was cut out of a piece of collage board. Here's a list of possible materials and how best to use them:
- Tagboard / matboard / collage board / layered cardstock: Anything you can cut out of a piece of cardboard, you can turn into a stamp; it just won't last long. Use this for very customized, one-off patterns; in my case, the olive branches and the volume number "I".
Be sure, when you cut the pattern, to keep your knife blade perpendicular to the paper; the edges of the pattern must be crisp and square for the best impression.
Unfortunately, no matter how clean your edges are, they won't survive more than a few uses; even one test use will start to flatten them down.
- Wire: For lettering, knotwork designs, curlicues, or maybe even a simple filigree—so long as no strands overlap—use wire. I used this to make the letters in "VOLUME".
I'd recommend a thin-gauge craft wire such as the artistic wire available from Hobby Lobby, or any copper-core wire. (Copper is best because it's soft and easy to shape.) Square wire may be even better to get a nicer edge shape, though it is harder to find and usually available only in costly silver.
- Wood: If you've got a whittling bent, why not use it? A small block of wood can be carved into any shape, with varying degrees of relief for interior detail. However, this is likely to suffer the same problem as the paper stamp, in that the edges will lose their crispness over a few uses.
- Metal sheet: This would provide the best approximation of a professionally-made stamp and would last quite a long time. However, it also requires the most special equipment: a jeweler's saw or maybe a band-saw to cut the edges, since a thin, easily cut sheet may not stamp deeply enough. It might be possible to carve detail in the interior of the stamp, but I don't know what a metal-carving tool is and have no doubt it would make an awful sound. Maybe a Dremel?
- Other? I'm sure more possibilities exist...stone, perhaps? A smattering of sand or small pebbles could produce an interesting texture, though large stones may be too brittle to endure the hammer blows. Plastic? Bone? Coins? Look around your house and see what you can find already containing an interesting shape or texture -- but be sure it can stand the impact before you test it!

Step 2: Stamping rod
Leather stamps usually come on the end of a long rod, as you recall, but there's no need for the long rod to actually be connected to the stamp. So all you need to apply the stamp is a thick metal rod a few inches long and a hammer to hit it with. I sawed off the end of a 1/2"-diameter steel rod that I'd gotten from ACE Hardware, then filed one end flat to lie against the stamp. Easy.
You may think there's no need at all for the rod part of this setup—you could hit the stamp directly with the hammer—and you're not entirely wrong. However, the rod gives you a great deal more control over where pressure is being applied, and it keeps stray hammer strokes away from the delicate leather surface (not to mention your fingers).
Step 3: Applying the stamp
Position your stamp carefully. If it's much larger than the rod, you may want to secure it with tape. Now, place the rod over an edge and give the top of it a firm smack or two with the hammer, taking care not to let the stamp slip. Proceed all the way around the edge of the stamp. Make very sure the stamp doesn't slip at all out of place, or you will kick yourself, I guarantee it.
Be sure that the rod doesn't tilt over the edge of the stamp and leave its own crescent-shaped imprint in the leather, because that will also cause you to kick yourself. Once an imprint is in, it pretty much doesn't come out.
Most tutorials I watched recommend that you dampen the leather with a sponge before tooling. My personal experience was that this made no difference, except maybe to dull the leather surface, and I'm not sure why. Perhaps it varies with leather type; I was using dyed calf leather. A thicker, stiffer leather, or a raw, untreated leather, may stand in more need of the dampening treatment.
Pros, cons, and cautionary tales
This is a great setup if you're willing to put in a bit of time making the stamps, and have a lot of these materials around or can get them easily. Custom stamps made in this manner may well be more versatile and easier to use. Where was I going to find an olive-leaf stamp in exactly the shape I needed? I could use a shape-elements set like in that video I linked, but that takes a great deal of planning and care; this was quick and easy.
However, if you have to go out to buy every single one of these things—the metal rod, the saw to cut it, the file to smooth it, the wire and pliers, all these various things—then you may be better off just buying a stamp set. It will last longer and probably look more professional. Furthermore, this method is not much good for custom tooling, where the tool needs to slide along the surface of the leather; there, you genuinely do need your shape to be attached to the rod.
Last but not least, this method is no good at all for gold leafing. For that technique the stamp needs to be heated and pressed down with a rocking motion (not hammered), and unfortunately no paper stamp could stand the heat. However, if all you want is a nice blind tooling, this will do. Alternatively, you can always apply leather paint afterward for color, which can produce amazing results, too.
I hope others will find this information as useful as I did. If you have advice or suggestions, words to scold me for my cheap, lazy ways, or remonstrations that everyone does this and I'm an unoriginal hack, I'd love to hear them in the comments. Cheers!
Interested in more cheap, clever bookbinding alternatives? Mrs. Dethe at Cursed Cauldron Creations has created a handy list. She, too, is a young bookbinder just finding her way in the craft. Go show her some love!